Vanilla-Bourbon Pear Dessert Sauce: Do Not Try This At Home

This Vanilla-Bourbon Pear Dessert Sauce is the manifestation of something I never thought I’d accomplish. At least, I’m pretty sure it is.

DSG_1312

When you first enter the world of home canning, the first message blasted is that you better not deviate one little bit from tried and tested recipes unless you’re trying to kill yourself. And it’s true, if you don’t know and understand the science behind home canning, you could easily make you or your family sick, or worse. Fortunately, the science isn’t that complicated, and is easily explained in just about every canning resource you’ll find. Most of it, that is.

If the “tried and tested” recipes are the only safe recipes, then…how are they tested? One of the important first lessons in canning is the difference in canning high versus low acid foods. High acidity prevents the growth of bacteria, including the bacteria that produces botulism, making low pH foods safe for water bath (boiling) canning. Low acid foods have to be preserved with pressure canning, a realm I have not yet ventured in to.

It first really clicked that home canning safety could be less mysterious when on an episode of Mind of a Chef featuring Sean Brock, he tested a batch of tomatoes with a strip of litmus paper. His canning technique was more traditional, rather than USDA approved, but he seemed to fully understand what he was doing and had tools to ensure its safety. He tested the pH. He wasn’t worried. And if he could do it, why couldn’t I, or anyone for that matter? Somebody knows what they’re doing if there are tried and tested recipes. There are authors of canning cookbooks. How did these transgressors come to know the secrets of canning their own recipes?

So pH isn’t much of a mystery, and a quick trip to one of the several home brewing shops in town provided me with a very official looking little bottle of pH strips that I can stick in whatever my little heart desires. This was the first key to knowing whether my Asian pears would produce a can-able sauce. There are clear instructions for acidifying and processing sliced Asian pears in syrup, but there is a huge lack of recipes that do anything else with them. I suspected that a pear sauce or butter, if properly acidic, could be treated like apples or other pears. But processing times aren’t exactly the same for each, or different preserves, conserves, butters, chutneys, relishes, and so forth. So the question remains, by what sorcery are correct processing times determined?

With a basic understanding of how canning works, its apparent that processing times are related to temperature. Processing is pasteurizing. It’s not a new science so I’m sure there is lots of data out there for how long it takes to kill what bacteria or how long it takes different densities of food to be heated through. But it’s this kind of information that isn’t readily accessible, nor are tools for determining it at home. There are charts that provide some information, but I have yet to find comprehensive tables and explanations and discussions of variables. Could I collect my own data with a specially rigged lid into which a probe thermometer could be secured, and watch the exact temperature fluctuations of my jams be manifested as a graph on my laptop in real time? Is that how the pros do it? What about just the cookbook authors?

Or, dare I say, maybe it’s not that complicated?

DSG_1315

What’s frustrating about not being able to achieve a total, ultra-scientific level of understanding of how to manipulate food in jars safely, is that I feel as though I am reduced to someone only allowed to operate a microwave, because who can fuck that up? I understand the safety measures are in place to protect people, but it comes at the cost of creativity and innovation. By adding such a level of mysteriousness to canning, we add an even bigger aspect of fear. It’s great if no one ever gets sick from canned goods, but not great if that number is zero because NO ONE cans anything. Food preservation is an ancient and evolving tradition, and to distance it from the home and relegate it to industrial means is to remove a huge part of the human experience.

As I said, I suspected that an Asian pear sauce or butter could be treated as any other pear sauce or butter, if the acidity were sufficiently increased. I verified this by calling the OSU Master Food Preserver’s hotline and they looked up in their top secret comprehensive book of tables that a 15 minute processing time would be appropriate. And so, with my pH strips and state sanctioned processing time, I pressed on with my Vanilla-Bourbon Pear Dessert Sauce, confident that I could prevent my plethora of Asian pears from going to waste, and not kill everyone on my Christmas gift list.

DSG_1328

A rough recipe:

Makes 6 half-pints

  • 5 lbs Asian pears, peeled, cored, and roughly chopped
  • 2 cups pear nectar or juice
  • 1 ½ cups sugar
  • 3 black cardamom pods
  • 1 vanilla bean
  • splash of bourbon
  • vanilla extract
  • bottled lemon juice

Bring the pears, nectar or juice, and 4 cups of water to a boil. Boil until completely broken down, at least 30 minutes. Blend into a very smooth puree with either an immersion blender or in batches in a blender. Pour the puree into a slow cooker and stir in the sugar, the cardamom pods, and the vanilla, scraped, as well as the pod. Add a good splash of bourbon, a little glug of vanilla, and a generous squeeze of lemon juice a couple times around the pot. Cook on low, about 9 hours, until thick but runny, like a dessert sauce. You don’t quite want a butter but you definitely want some body. Test the pH periodically towards the end so you can make any necessary adjustments to lower it. Final product should fall into the 4.2 range if you’ve managed to acidify it enough while juggling the balance of flavors. The alcohol will completely cook off by the end so don’t expect that to help you. Pick out the cardamom and vanilla and discard.

Pack into prepared half-pints and process for 15 minutes. If you don’t know what that means, go back and stick to only tried, and tested, reputable recipes.

To use: bread pudding, pumpkin pie, roasted acorn squash.

Recipes for Almost Nobody: Carrot-Greens Chimichurri and Pesto

DSG_9436I have a confession. I don’t really like salads. The leafy kind, anyway. They’re wonderful every so often, especially when there’s a good balance of texture and flavor and a worthwhile dressing, but I’ve never been the kind of person that can enjoy a salad with every meal. I love greens, and I certainly love vegetables, but there’s just something about looking at a big bowl of leaves that leaves me feeling overwhelmed.

With that being the case, it’s no help when someone suggests a salad as a way to use beet, radish, turnip, or carrot greens. If you’re a salad person, that’s a no brainer. But if you have more greens than you can possibly eat in that fashion, you can’t just make more salads. And as noble a cause as it may be, you’re not going to get more Americans to start paying more attention to these ignored greens by telling them to eat more salads.

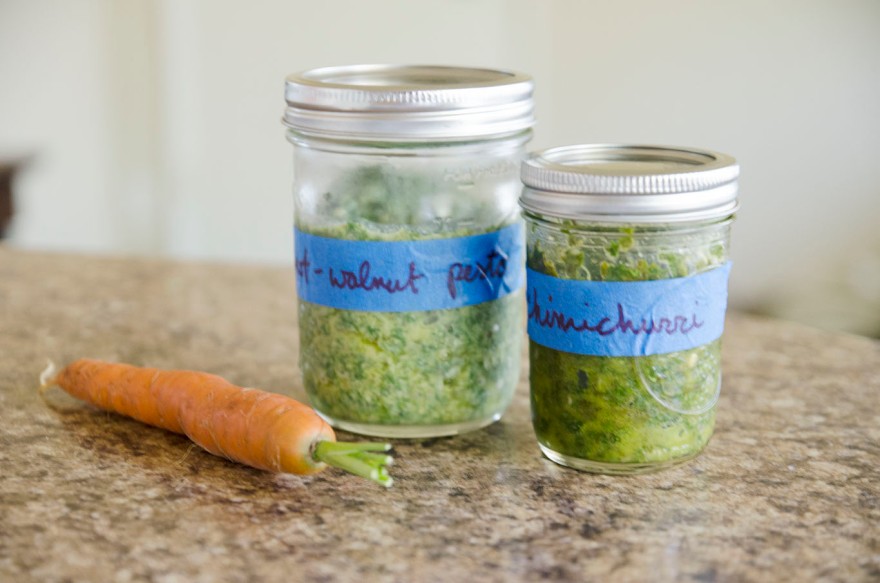
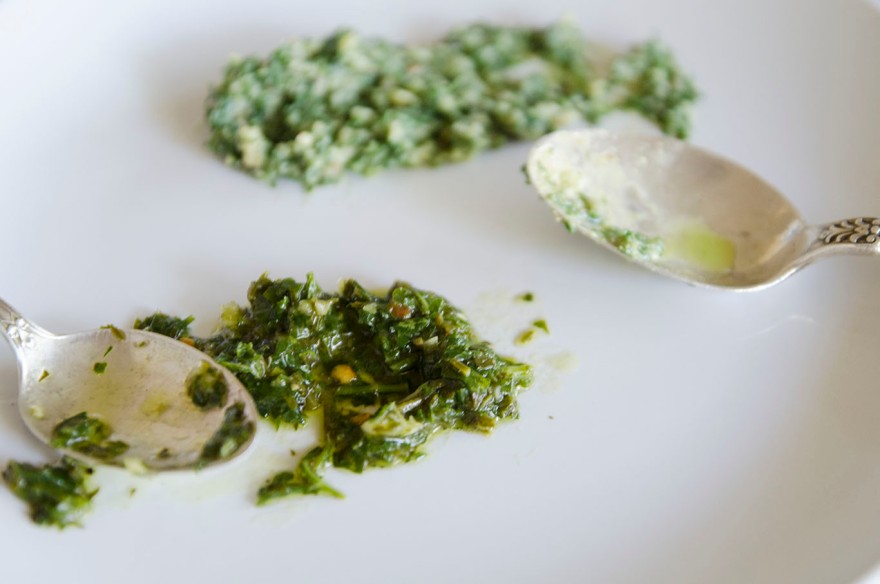
This week, my focus was on carrot greens. I had previously made a lemon vinaigrette with carrot greens for a raw beet and carrot salad, which came out delicious and encouraged me to try more. However, that vinaigrette was only good for using a couple tablespoons of greens. Carrots have been a regular player in my CSA basket, so I’ve really been racking my brain and the internet for non-salad way to use them. Making pesto seemed like a cop-out, but then I had the idea to add some to a chimichurri. I really like my parsley in chimichurri though, so I merely accented it with the carrot greens, which left the rest free to go ahead and try a pesto.

Carrot greens can be a little tough and bitter, so before using them in either sauce, I blanched them. This worked better than I expected, softening both their flavor and texture just enough to maintain their distinctive grassy notes, but not making them blend into unpalatable mush. Another nice bonus I’ve noticed is that carrot greens don’t oxidize the way basil does, and I’ve had no problem keeping my pesto a gorgeous green!

On a side note, I realize a recipe like this won’t have the most reach. It’s really a shame that carrots don’t generally come with their greens attached, unless you buy from a farmers market or are fortunate enough to be a CSA member. This is done to prolong the carrots’ freshness, as the greens will continue to draw moisture from the carrots as long as they’re attached. Still, there’s a massive source of nutrition that’s just…going where? Compost, hopefully? Even beets and radishes frequently keep their greens. Carrots could really be a poster child for everything that’s wrong with the American relationship to food.

For the chimichurri, I included most of the main stem of the greens, which can be quite tough, because I wanted the added crunch in the texture of the sauce. I removed the main stalks for the pesto though, so that it would have a finer, smoother texture. You can do as you please, but if you really want to go no-waste, the stems that don’t make it into the pesto can be saved for adding to stocks.

Note: To blanch greens, add the carrot tops to a pot of boiling water. Boil briefly, 30-60 seconds, just until the greens brighten and barely soften. (They may look a bit more wilted than they really are). Drain and rinse well under cold water, or better yet, shock in an ice bath. Dry well in a spinner or laid out on paper towels.

DSG_9478

Carrot-Green Chimichurri

1 bunch parsley

approx. 1/3 cup carrot greens with stems, blanched

4 garlic cloves

¼ tsp red pepper flakes

¼ C red wine vinegar

up to ½ C olive oil

salt and pepper to taste

Add the first 5 ingredients to a food processor and pulse to combine. With the motor running, slowly drizzle in the oil. I like my chimichurri a little oily, but you may prefer less. Season with salt and pepper. Let sit for 2 hours or so (in the fridge is fine) before using. Let come to room temperature a little before using as the oil may solidify somewhat in a very cold fridge.

Carrot-Green and Walnut Pesto

Carrot greens from 1 large bunch of carrots, blanched, and main stems removed (approx 2 cups greens)

½ C walnuts, toasted

4 garlic cloves

½ – ¾ C olive oil

salt and pepper to taste

Add the greens, walnuts, and garlic to a food processor and pulse to combine. With the motor running, slowly drizzle in the oil. Honestly I didn’t measure after 1/3 cup and just poured straight from the bottle, but you can adjust the oil amount according to your liking or whatever the pesto needs to get to the right consistency. Season with salt and pepper to taste.

3 Strategies for Using Up All That CSA Produce (And ‘Soup’ Isn’t One of Them)

Last week, the Excelsior Farm Chronicle post touched on the fact that members new to the CSA lifestyle were probably about now realizing that being a part of a CSA is a lifestyle. My husband and I do struggle to get through all the produce each week, and it breaks my heart when something withers or wrinkles before I can get to it or finish it. To complicate matters, we’re looking at a solid week of over 90 degree weather ahead of us, so finding ways to use our produce with minimal heat is a whole new challenge. For that reason, I think now is a very good time to talk a little bit about how being a CSA member has changed our shopping and eating habits, as well as my strategies for using all that produce!

Take a Day Off

First of all, picking up our CSA box, finding and choosing recipes for the week, prepping and properly storing the haul, not to mention cleaning out the fridge before all that, is plenty of work for a day without even factoring in making dinner. To simplify things, we designated Wednesday, (pick-up day), as our eat-out day. If there are any leftovers then I will have that for lunch, but if I’m getting a little sick of something I made too big a batch of, or if the dish is questionably fresh, then I absolve myself of guilt for throwing it out and just buy myself take-out lunch while I’m out. My husband is free to enjoy a restaurant he likes, and an opportunity for networking or building relationships with his coworkers is built in to our schedule. To top it off, he knows he’ll be picking up dinner on the way home, which saves my energy for cooking for tomorrow’s meals. I can prepare a chopped or pasta salad without being rushed to make sure it’s chilled in time for dinner, or bake a quiche or strata for tomorrow’s breakfast, and wake up the next day able to hit the ground running with our CSA haul, all because we factor in a day off.

Think About Condiments First

Condiments are not only a smart way to turn some of that produce into manageable quantities, but with a well stocked freezer, are an easy way to up the production value of your cooking without adding work. A good place to start is with compound butters, and pesto.

If you follow my blog, you may have noticed that a compound butter is often in my plan. Compound butters are extremely easy to make, and freeze beautifully. With a nice selection in your freezer, you can slice a piece off to toss with any plain roasted, steamed, or sauteed vegetable(s). A dab melting on a piece of meat is an instant sauce, or dressing for a pasta and vegetable salad. Float a slice on soup in lieu of a drizzle of oil. Set it out with a sliced baguette or crudites and show off to your friends how awesome you are.

Next, learn to think outside the box in terms of pesto. In fact, pesto is so versatile and varied, “pesto” is now a verb. Arugula pesto, radish greens pesto, garlic scape pesto. Try this chart to start experimenting. Really anything can be blended into a sauce, and the line between a vegetable sauce and a vegetable soup is pretty vague when you really think about it. If you’re having trouble inventing a “pesto,” use vegetable soups for inspiration, but oil instead of broth, nuts for body, and something like soy, miso, Parmesan, or Worchestsire, for salt and umami. Then don’t forget to make lots of it, so you can freeze it and toss it with vegetables to come.

All Hail the Cheese Plate

If you’re like me, chances are you’re making a variety of salads, pickles, and “sauces,” and not necessarily serving them one at a time. There’s far too much produce to be thinking in terms of a single side dish, and often, our CSA box contains more than one thing that will go bad faster than the rest and therefore takes priority on the meal planning list. It can be hard to always have vegetables taking center stage, and just as hard to make all those salads and still need to prepare a protein in order to serve them. But that’s why there’s such a thing as good cheese. Go buy some, as well as some crackers or baguette, and pick up some fresh fruit while you’re at it. Then enjoy a lovely meal that includes a selection of beautiful salads, rounded out and made all the more elegant with the addition of good cheese and seasonal fruit.

This is also an excellent way to use up any pickles you’ve made without having to invent a whole dish to serve them with, and a shared wedge of cheese leaves a lot more room in the belly for those gorgeous salads you made than a pork chop does. Not to mention is a lot less work, and spares you use of the oven during summer heat waves.

Orange Creamsicle Frankenstein

DSG_1197
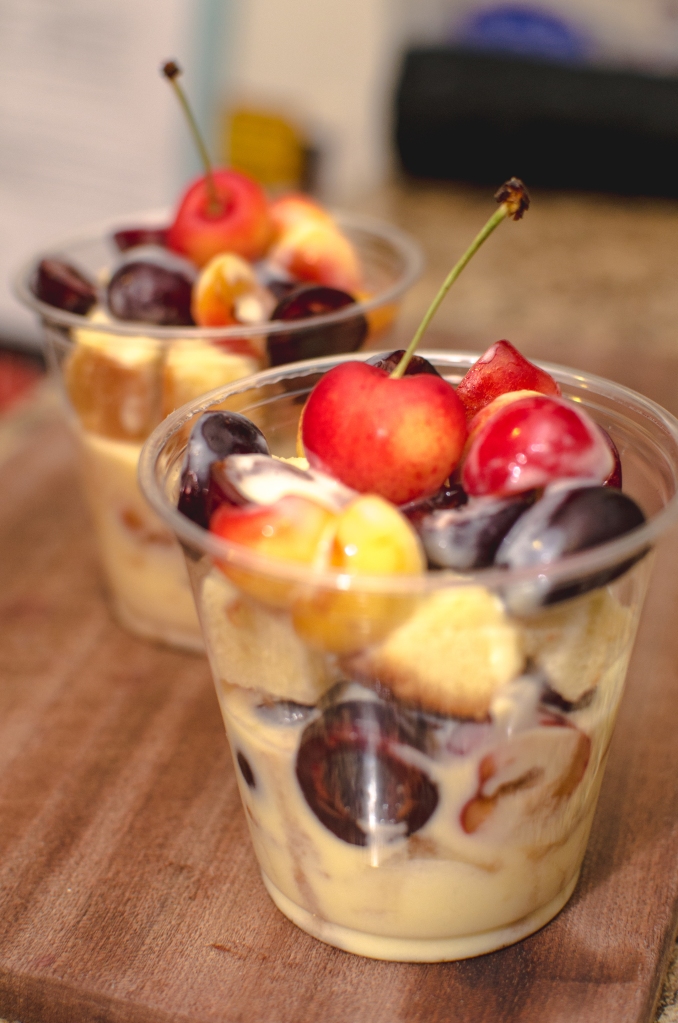
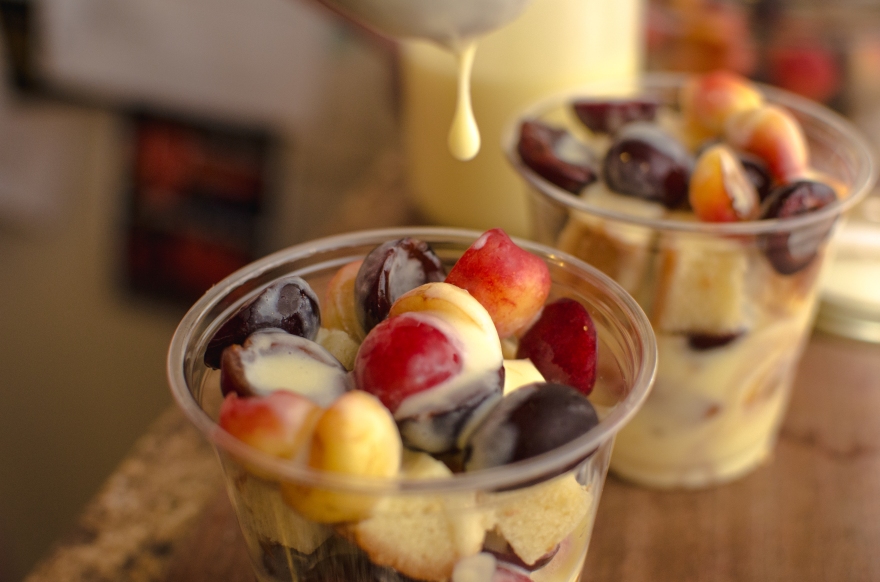
Mission: Cherry Trifles.

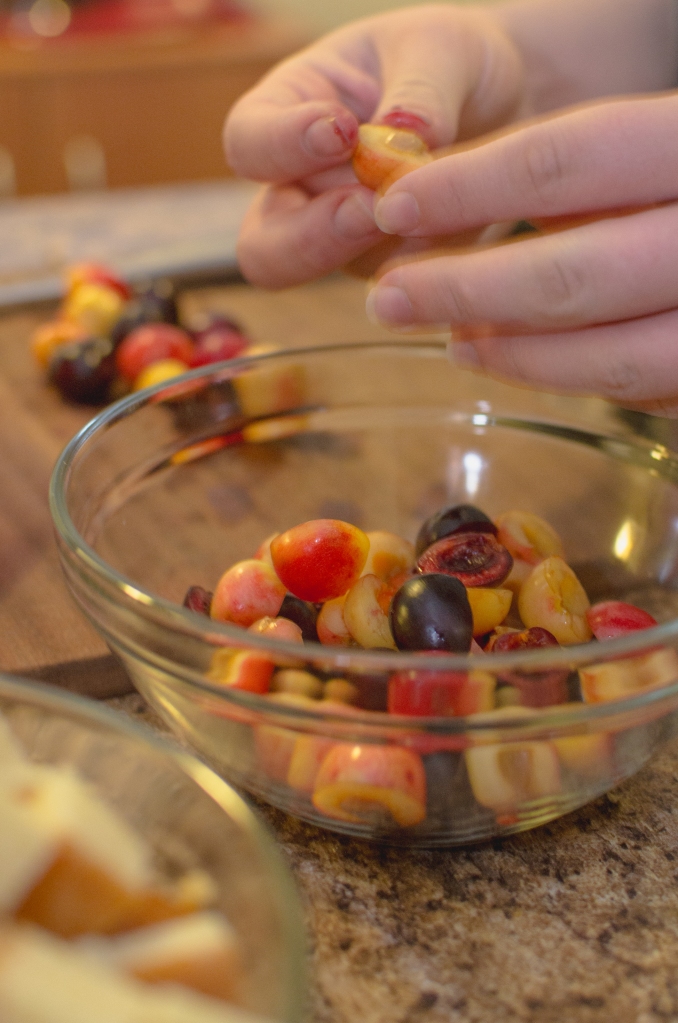
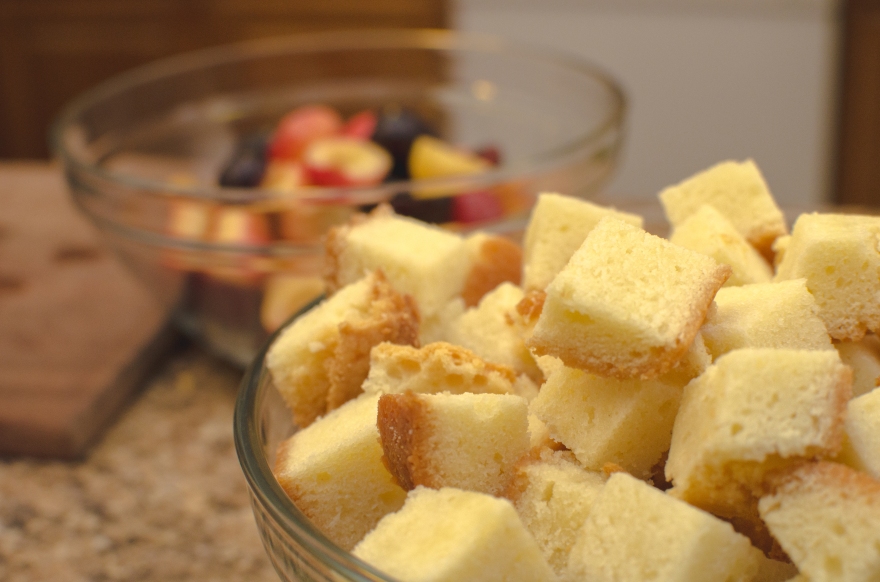
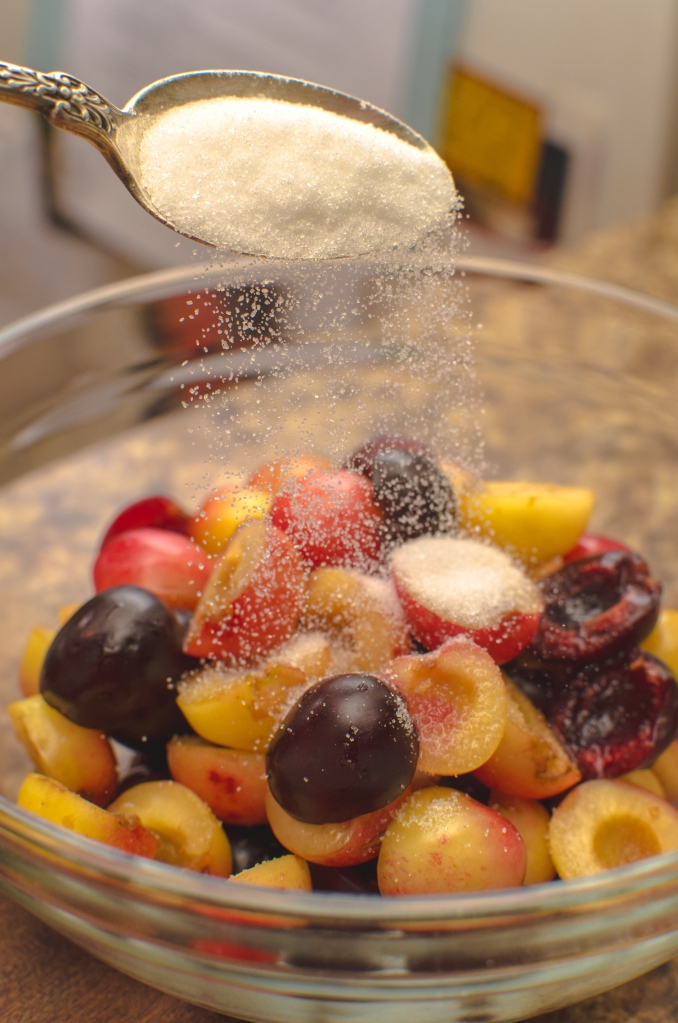
As I stood there halving and pitting cherries, my feet sore and swollen, I realized what I was about to do. It was late, and I was pregnant and hungry for dessert. Before me was a bowl of my grandmother’s recipe pound cake, thawed and cubed from the stash I was trying very hard to keep sequestered in the freezer for after the baby is born, and a bowl of particularly good (and expensive) mixed cherries from the farmers market. And I was about to combine them with vanilla Jello pudding because pregnant.

DSG_1132

I sighed at the injustice I was about to commit, and took a break from the cherries to rest my feet. This was supposed to be a dessert of convenience. The pound cake came from the freezer, the cherries weren’t too big of a deal to pit, and you know, 5-minute pudding. But there must have been a reason I went to all the trouble of prepping the pound cake and cherries first while I could have had the pudding setting in the fridge but didn’t. It wasn’t too late. I could make something better. I could…rebuild it.

DSG_1142
PCILF.

DSG_1149

Creme anglaise has become as much of an extension of my body as my phone. If I were a fairy princess, where ever I walked would turn to custard topped with bruleed stepping stones; flowers would offer their vanilla nectar; the animals that followed me when I sang would be stuffed with crème patissiere and for that reason my world would be as violent as it was decadent.

Anyway, what I meant to say was that my first thought was of course to whip up a crème anglaise. But lo, I was out of vanilla extract. And almond, which was too bad because I even had slivered almonds I could have toasted and used for garnish. Orange, maybe?

DSG_1161

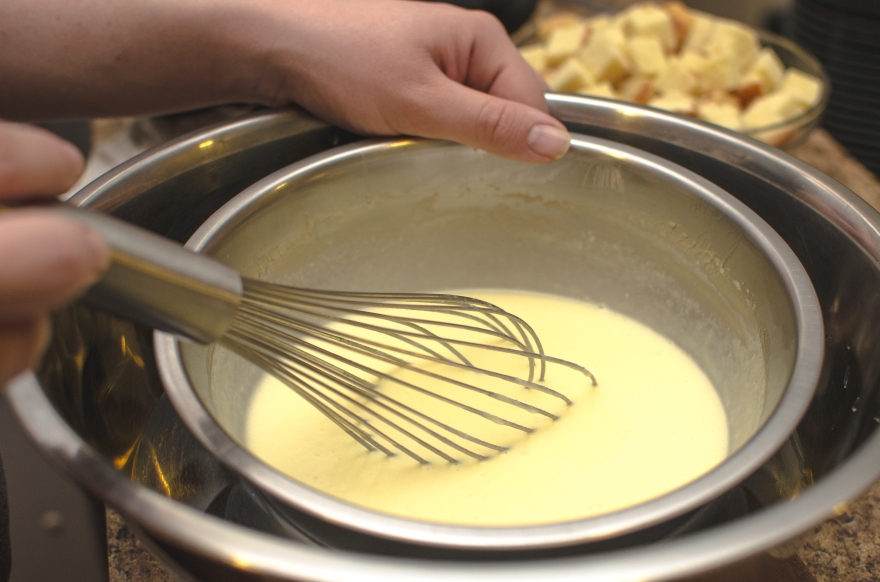
But I didn’t want to separate that many eggs for a full batch, and halving the recipe still meant 4 egg whites that I’d have to dig out an ice tray to freeze because that’s too many to let go to waste. Two eggs whites could get trashed though. (Try to remember I’m super pregnant, and I just want my goddamn dessert). So, whatever I was making would include 2 whole eggs and 2 yolks, and orange extract. And milk, because I want this to be creamy. And I would have to cook it in a double boiler because I wouldn’t be baking it.

DSG_1166

The cherry “trifles” I made? Meh. The orange creamsicle crème anglaise/curd Frankenstein I made? Not bad. Not bad…


Orange Creamsicle Sauce

  • 2 whole eggs
  • 2 egg yolks
  • ½ C sugar
  • 1 C milk
  • ½ tsp orange extract
  • pinch Taha’a vanilla salt
  • 4 Tbs butter

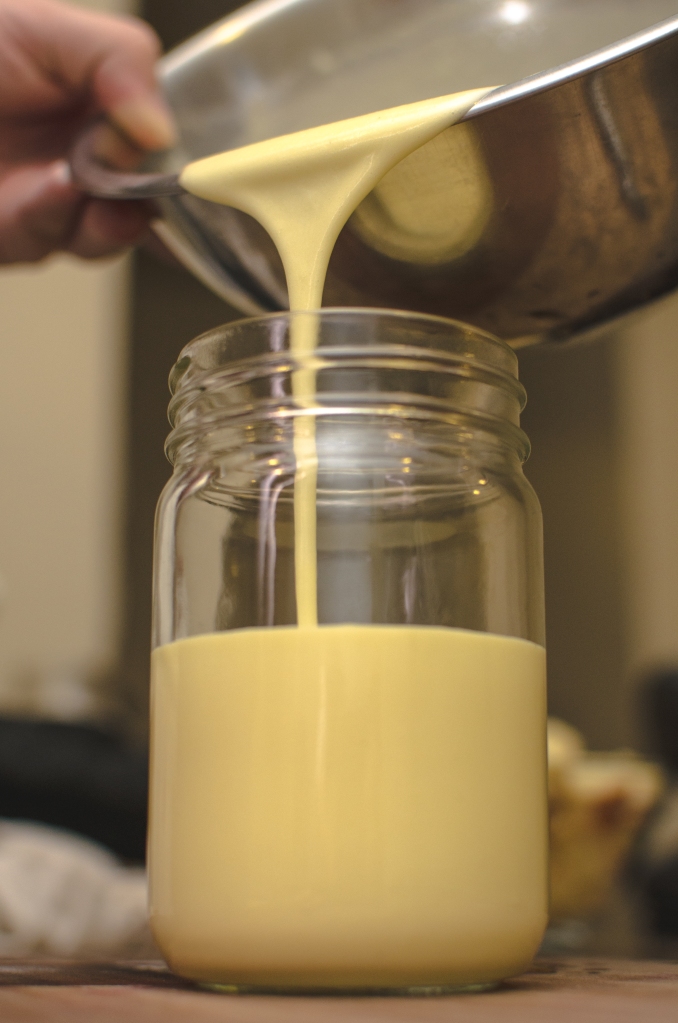
Whisk together eggs and sugar. Whisk in remaining ingredients except the butter in a bowl set over a pot of boiling water, and whisk continuously until mixture thickens and coats the back of a spoon. Turn off the heat and whisk in the butter one tablespoon at a time until incorporated. Transfer the bowl to another, larger bowl with ice water, and keep whisking until the mixture is cooled. If you’re not super pregnant, it doesn’t hurt to strain the sauce before the cooling process, in case of any egg solids or undissolved salt. Pour cooled sauce into a jar and chill.

DSG_1181